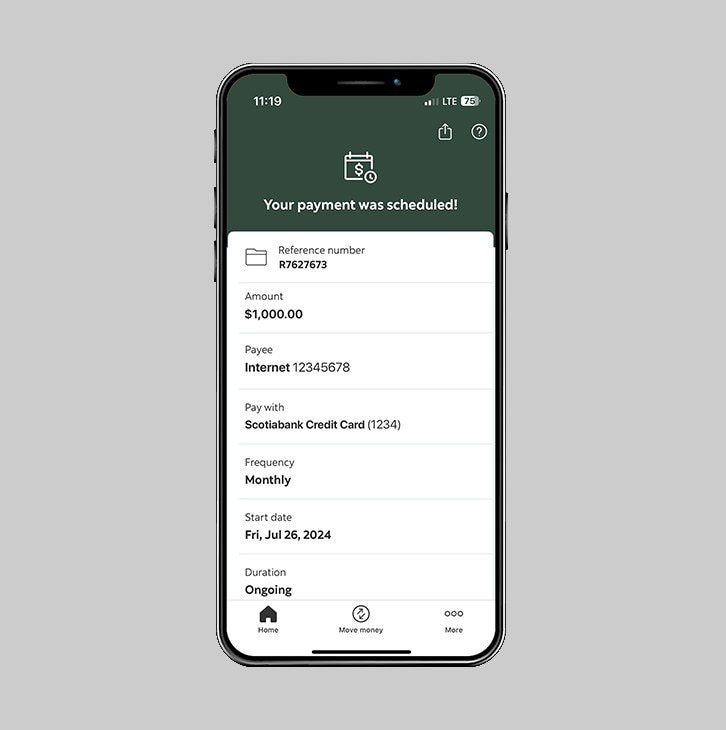
How-to schedule a transaction.
Schedule your bill payments.
Let's get started.
Follow the steps below.
Step 1 - Launch the app and sign in.
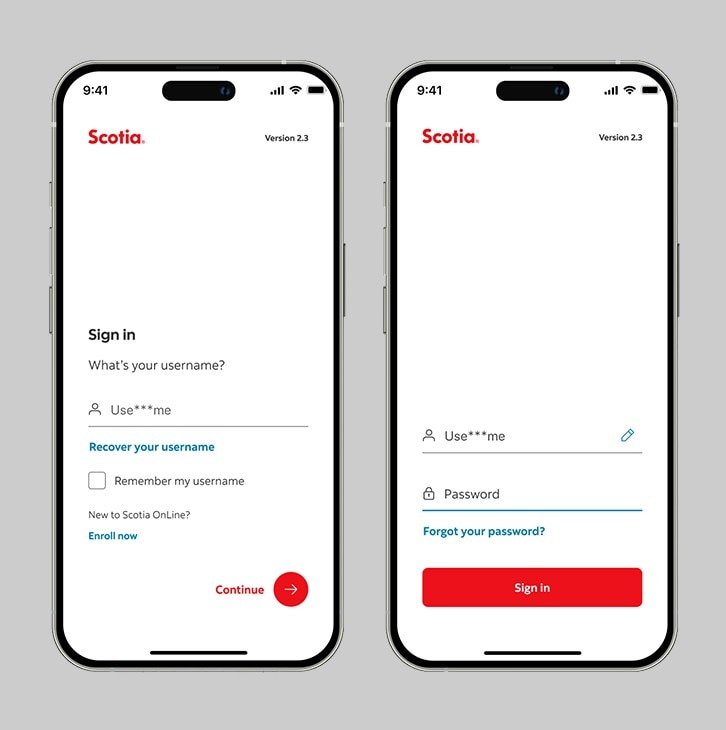
Launch the Scotia Caribbean App and sign in. Depending on your security settings, you will need to verify your identity through FACE ID, Touch ID or by entering a verification code, that is sent to your registered email.
You should receive your verification code in your email's inbox immediately. If you don't see it, check your spam and/or promotions folder. If after a couple minutes, it's still not there, click the "Send me a verification code" link.
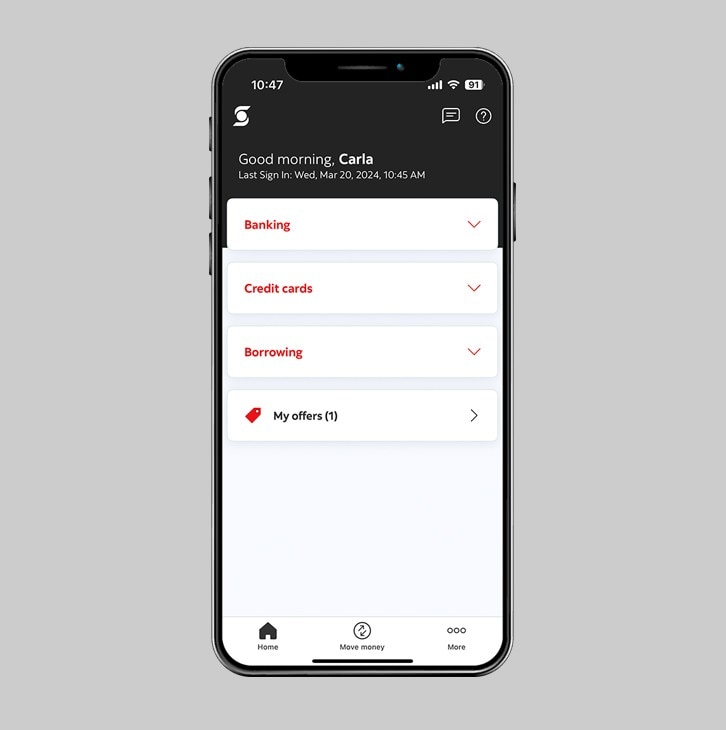
Step 2 - Go to the "Move money" tab.
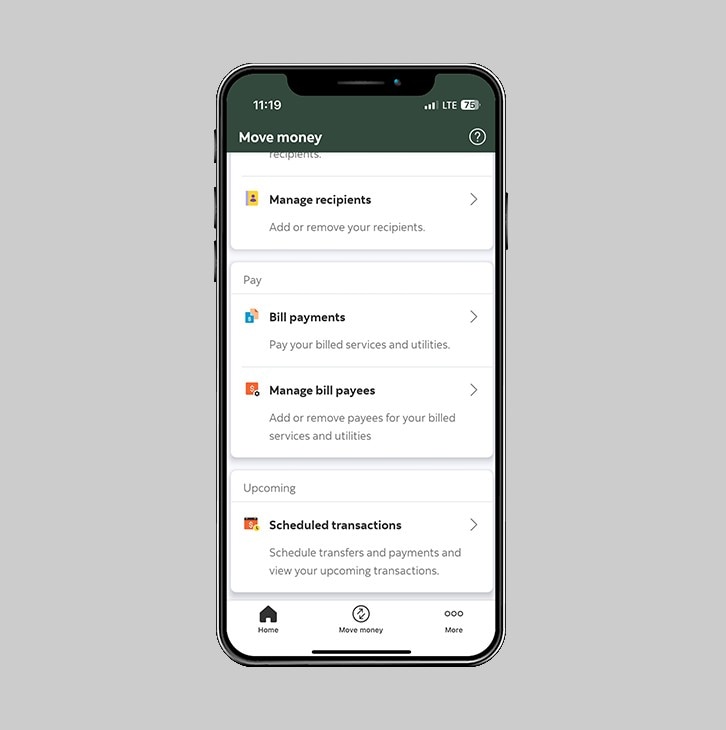
Step 3 - Select "Scheduled transactions".
Under the "Upcoming" section, tap on "Scheduled transactions" to schedule transfers and payments, and view your upcoming transactions.
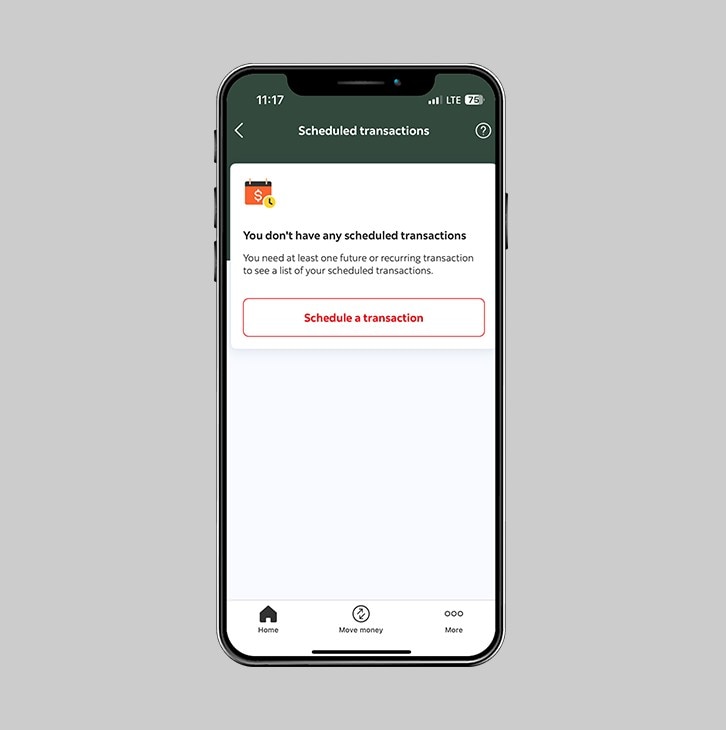
Step 4 - Select "Scheduled a transaction".
Click on the "schedule a transaction" button to add a payee.
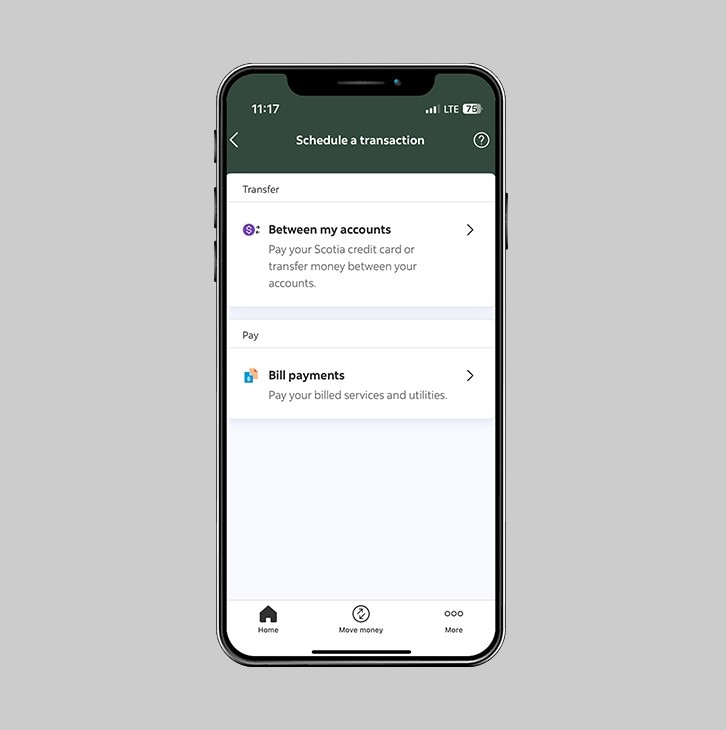
Step 5 - Select "Bill payments".
To schedule a recurring payment to one of your previously added bill payees, click on "Bill payments".
Click here to learn how to add a bill payee.
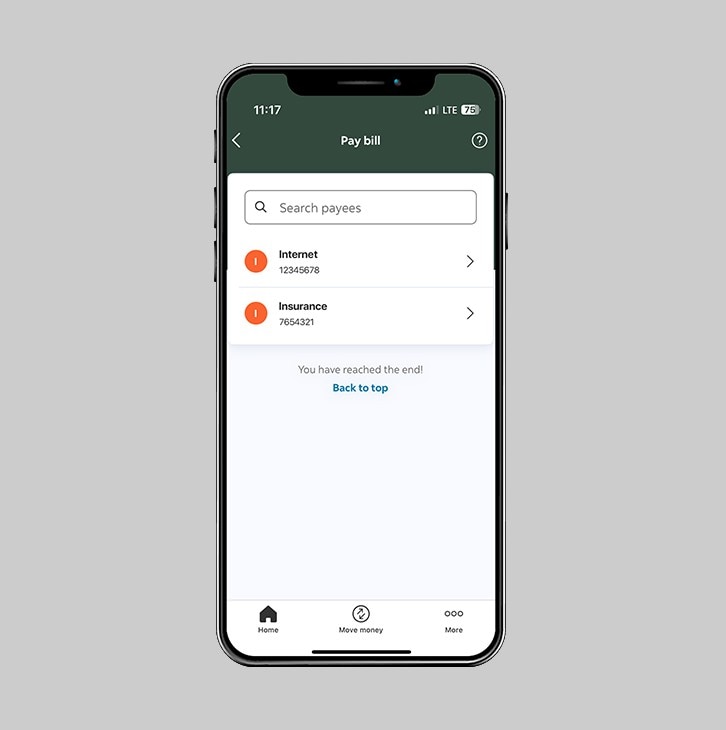
Step 6 - Select the bill for which you wish to schedule a payment.
Select from your list of previously added bill payees.
Click here to learn how to add a bill payee.
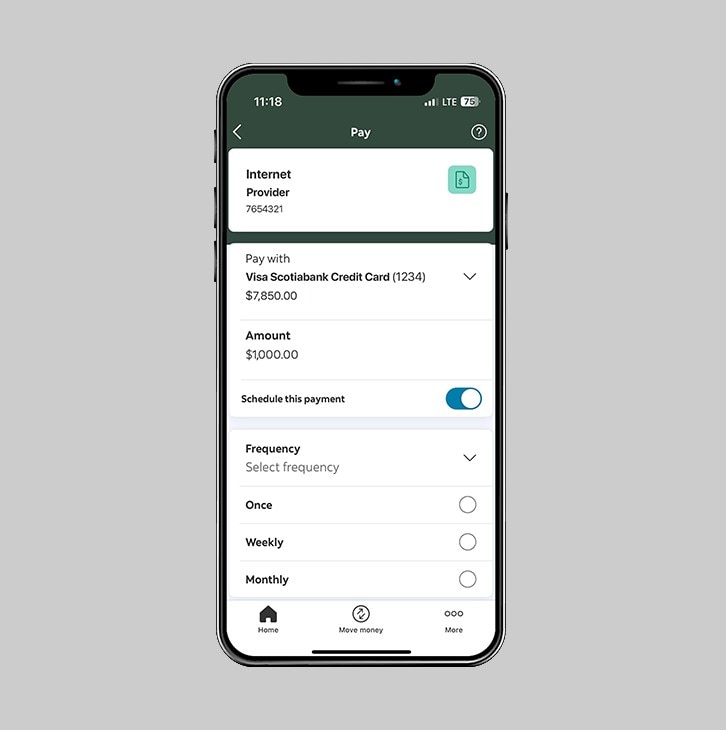
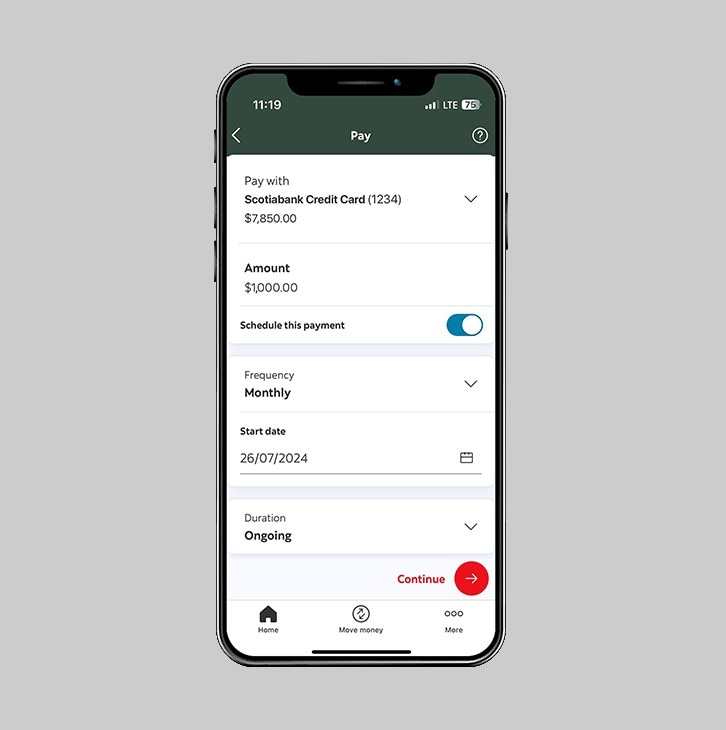
Step 7 - Enter your payment details.
Select the account that you would like the payment to come from, then enter the amount you would like to pay and select the frequency for payment.
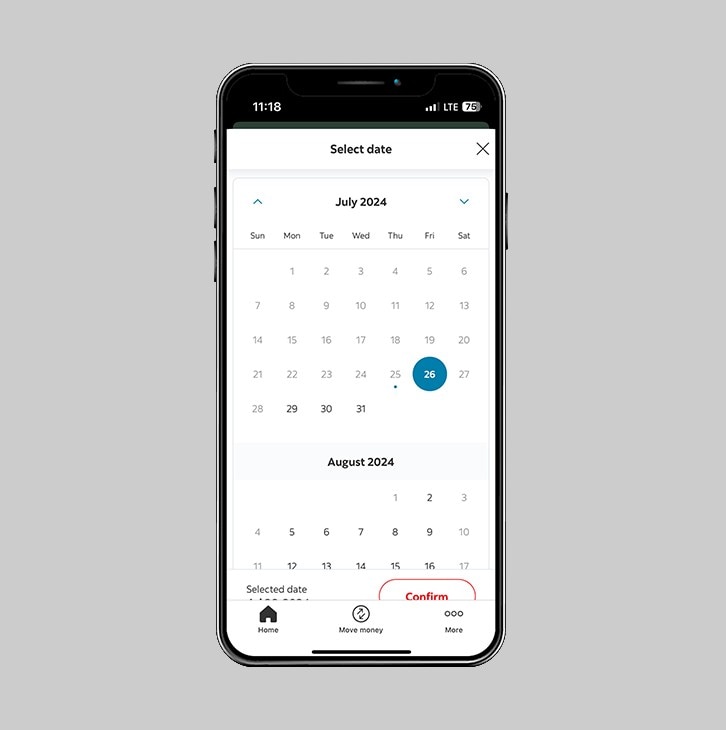
Step 8 - Select the start date.
Select the date on which you want the 1st payment to be made.
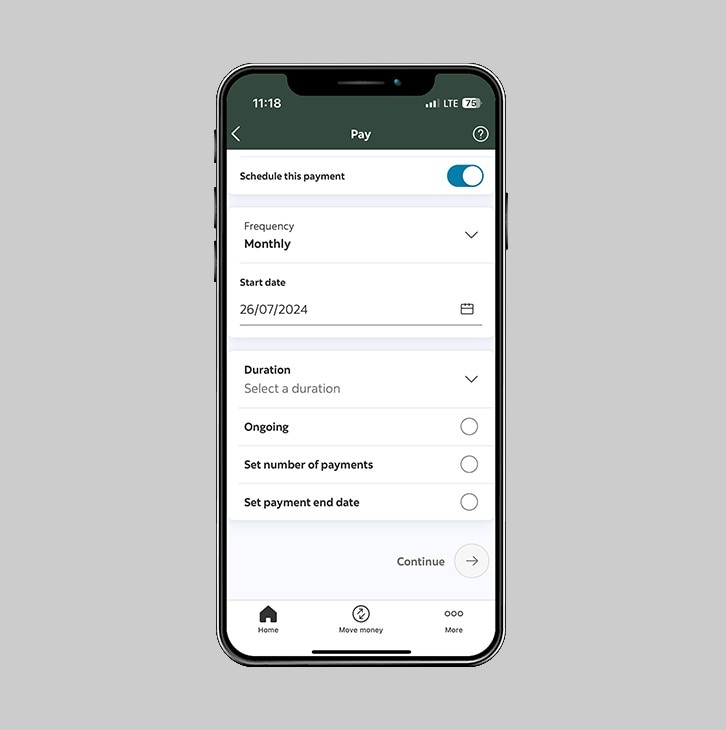
Step 9 - Select the duration for the scheduled payment.
Indicate for how long the payment should be recurring.
Step 10 - Select "Continue".
Once all required fields are completed, select "Continue" to proceed.
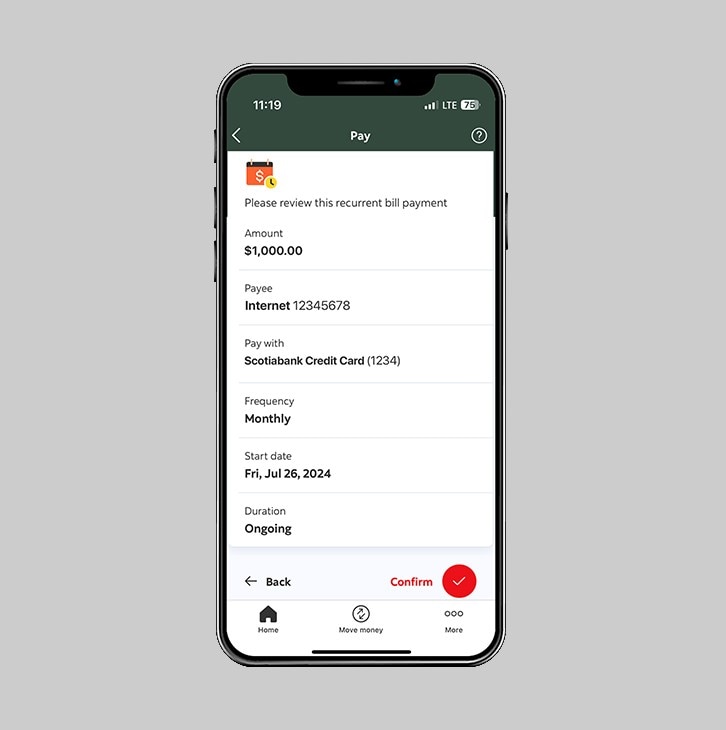
Step 11 - Review and confirm.
Once all details are correct, select "Confirm".
Step 12 - Success! You've scheduled a bill payment.
You will receive a reference number that you can keep for your records.
